
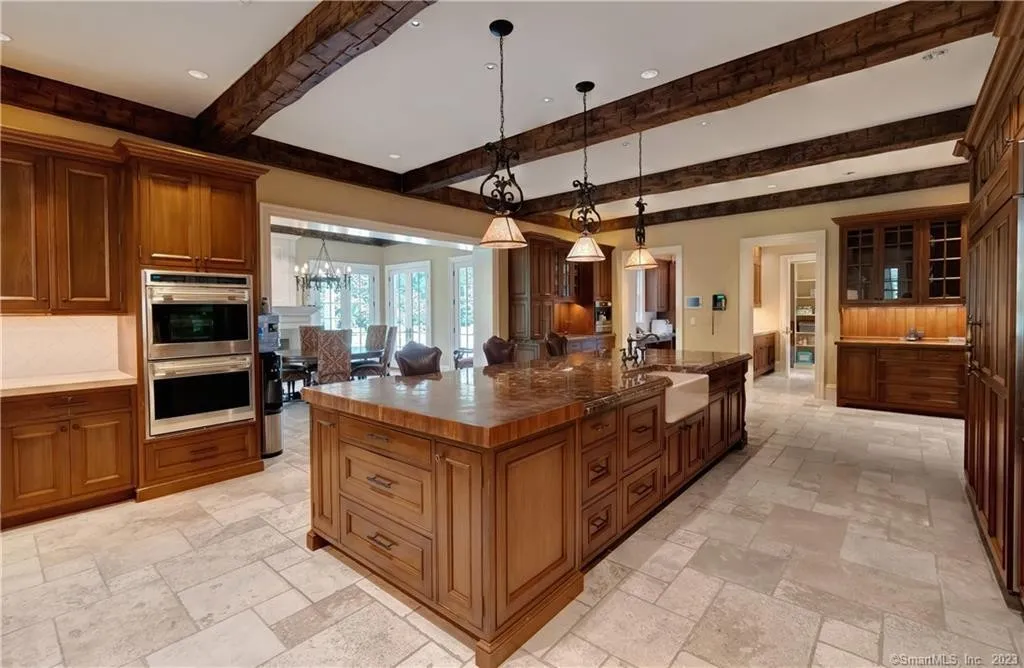
A well-designed custom home begins with how you want to live. The kitchen should support the way you cook and gather. The lighting should work with your furniture and daily routines. The bathrooms should feel comfortable to use, not just look good in a photograph.
Bringing those details together takes a sequence of decisions. You do not need to choose every paint color before construction starts, but choices that affect the drawings, mechanical systems or items ordered to size deserve early attention. For a luxury custom home in New Jersey, a written selections schedule gives those decisions a place in the overall plan.
Start with daily life, then set the priorities
Before visiting showrooms, make a short list of what matters most. Do you cook every day or entertain with a caterer? Do you need a quiet office, a first-floor guest suite or storage for sports equipment? Which furniture pieces are coming with you?
Share those priorities with your design-build team and agree on where to spend. A larger pantry, a particular window arrangement or carefully planned built-ins may matter more to you than another decorative finish. Reviewing those choices together helps keep the floor plan and budget aligned.
1. Set the layout and major openings first
Review room dimensions, furniture placement, door swings and circulation before treating the floor plan as settled. Consider the relationship between the kitchen, outdoor spaces and everyday entry. Check where coats, groceries and deliveries will go.
Windows, exterior doors and large openings also need coordinated review. Ask the team to confirm dimensions, operation, exterior appearance and relevant performance requirements before ordering. A late change can affect more than the opening itself, so understand its design, cost and schedule implications first.
2. Coordinate appliances and cabinetry as one decision
Choose appliance models with the kitchen layout, rather than selecting them after the cabinets are finalized. A refrigerator, range, wall oven or built-in coffee system can have specific requirements for openings, clearances, ventilation and utility connections.
Give the design and construction team the current manufacturer specifications for each selected model. Resources such as the Sub-Zero, Wolf and Cove specification library provide model-specific planning and installation information. Have the cabinet drawings and installation requirements checked together before orders are released. Include panel-ready appliances, countertop appliances, island seating, drawer storage and the location of waste and recycling.
The same approach applies to a pantry, laundry room or outdoor kitchen. Confirm the equipment and how it will be used before finalizing the surrounding cabinetry.
3. Choose plumbing fixtures before rough-in decisions
A bathroom selection is more than a faucet finish. Wall-mounted faucets, freestanding tubs, shower controls and multiple shower outlets need coordination with the plumbing layout and the products behind the finished wall.
Review the actual fixtures, valves and accessories with the team before plumbing rough-in. Manufacturers such as Kohler recommend checking valve and trim compatibility before installation. Discuss control locations, storage niches, mirror sizes and the relationship between the vanity, lighting and outlets. If you want features that support changing mobility needs, raise them during design so the team can evaluate space, support and access requirements.
4. Plan lighting around the rooms you will furnish
Bring a furniture plan to the lighting discussion. Dining pendants, bedside reading lights and kitchen island fixtures should relate to where people will sit, work and move. Review task lighting, general lighting and decorative fixtures together.
Decide where switches and controls will be convenient, and discuss dimming, window shades, network equipment and any planned smart-home features before wiring is finalized. Ask the relevant installers to confirm product compatibility. Keep the approved lighting and electrical plans with the other project selections.
5. Review finish samples together
Gather cabinet, flooring, countertop, tile, hardware and paint samples into a small, coordinated set. Look at them together and, when possible, in the light where they will be used. A finish that looks warm in a showroom can read differently beside your flooring or under your selected lighting.
For each material, discuss maintenance, intended use, installation details and natural variation. Confirm tile layouts, transitions, grout choices and trim details before installation. Where appropriate, ask to review a mockup or a larger sample before approving the full application.
Use a selections schedule, not a pile of bookmarks
Ask your team to tie each decision to its design, ordering or installation milestone. Delivery estimates vary by product and supplier, so confirm current availability before relying on a date. A useful selections record includes:
- The room, product, manufacturer, model, finish and dimensions.
- The drawings or specifications that need to be coordinated.
- The allowance and what it covers, including installation and related materials.
- The approval deadline, order status and expected delivery.
- Any approved change in cost or schedule.
Before authorizing an order, check the final specification and the supplier's cancellation or return terms, especially for made-to-order items. If a selection changes, confirm the revised cost and schedule in writing rather than assuming an email or showroom conversation has updated the construction documents.
Bring your ideas into the first conversation
You do not need a finished design to start planning. Bring your property information, a few reference images, your budget priorities and a list of the features that matter most. That is a useful starting point for discussing the home as a whole.
Explore Deerpath's custom-home building process and budget checklist, or get in touch about your custom home.